Deploy a Go App to AWS EC2
We built a web application of Blog with GoLang in a previous article. In this article, we are going to deploy it on AWS EC2. We are going to learn how to set up Nginx and MySQL on the Linux server. We know that there are many easier ways to deploy GoLang web apps, but it is about basic deployment, and it is important to know.
AWS EC2
What you need as a prerequisite is only AWS EC2. You can sign up https://aws.amazon.com/free/. You will get 750 hours of AWS EC2 for 12 months called Free Tier. We can try and learn many things with this Free Tier.
Amazon Elastic Compute Cloud (EC2) offers virtual computers, available anytime over the Internet. AWS virtual computers emulate most real computers, including Central Processing Unit (CPU), Graphics Processing Unit (GPU), RAM, hard drive / SSD storage, operating system, network, etc. Maybe we also can get similar services from Microsoft Azure, Google Cloud Platform, or Alibaba Cloud. But this article runs on AWS EC2.
EC2 Instance
Let’s create an instance.
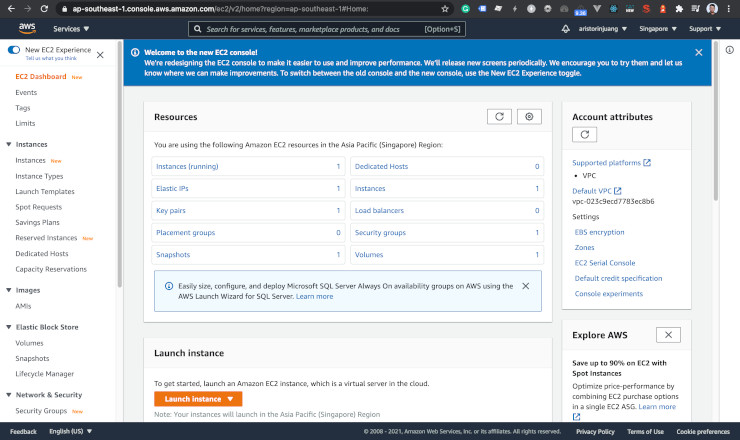
Click Launch Instance!
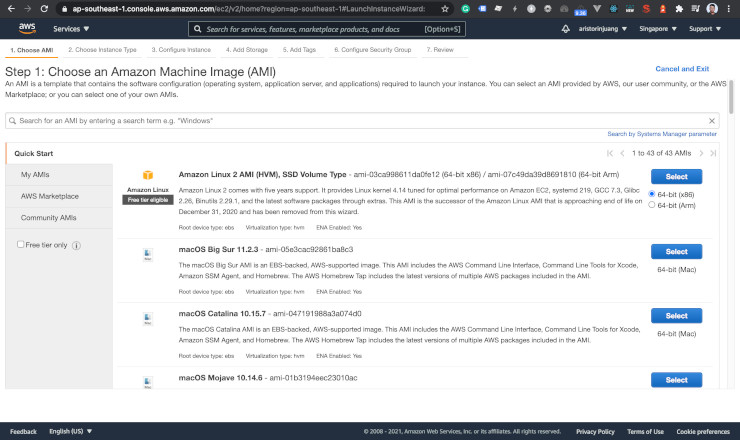
Choose Amazon Linux 2 AMI. Because it is an official image of AWS EC2, and it is free tier eligible.
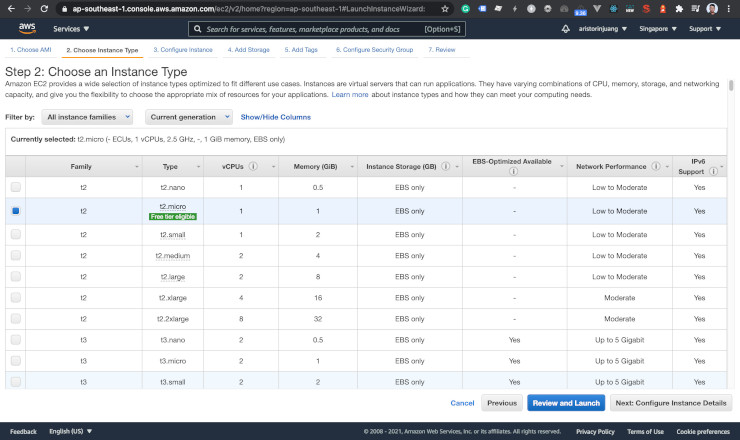
Choose t2.micro. It is enough to handle our blog web app, and it is free tier eligible.
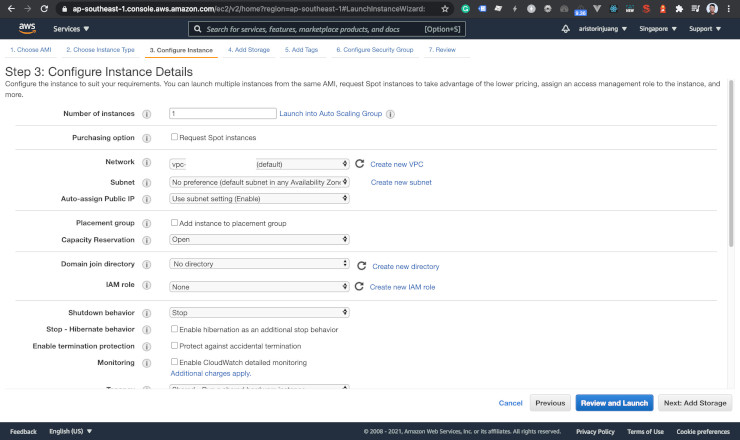
You can configure the network, subnet, etc.
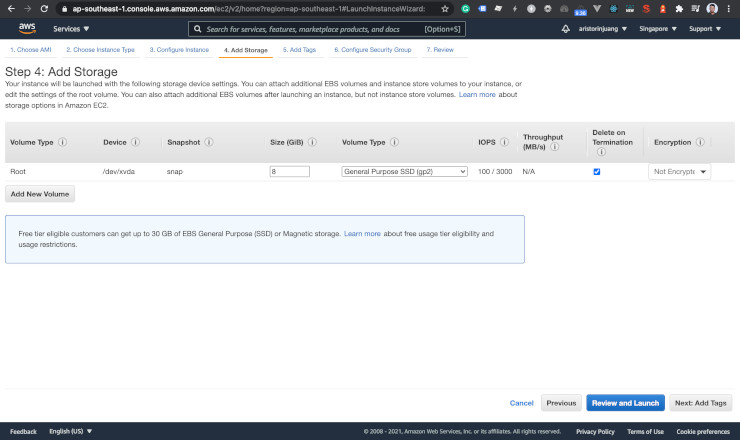
8 GB is enough.
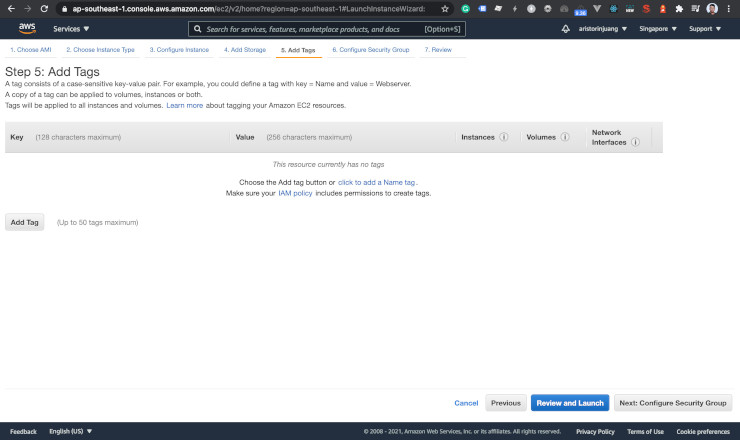
You can create tags if you want.
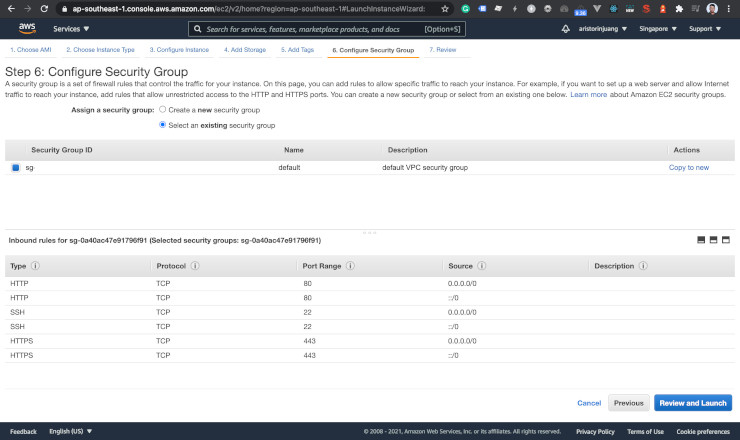
You can create a security group or choose an existing one. As you can see here, I opened HTTP, HTTPS, and SSH for my default security group.
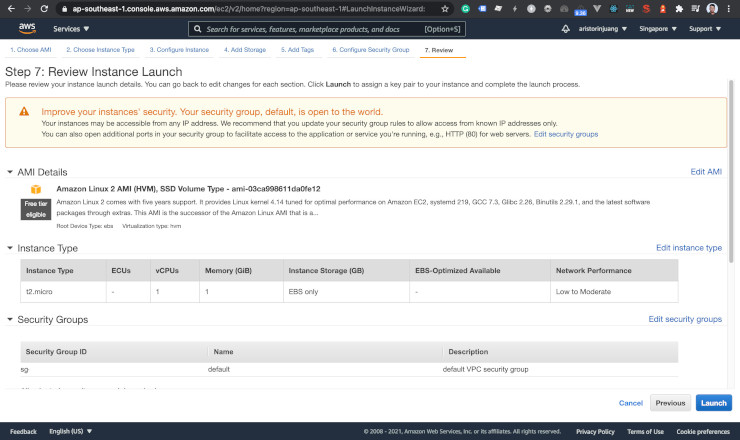
You can review your configuration in the end.
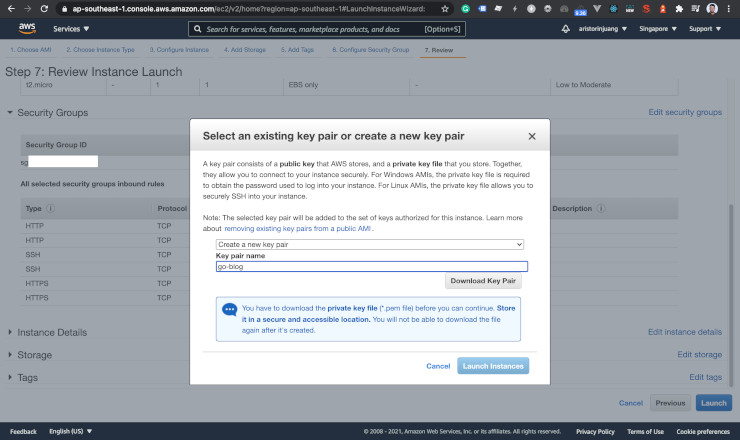
Pick a key pair. We will log in using it on SSH.
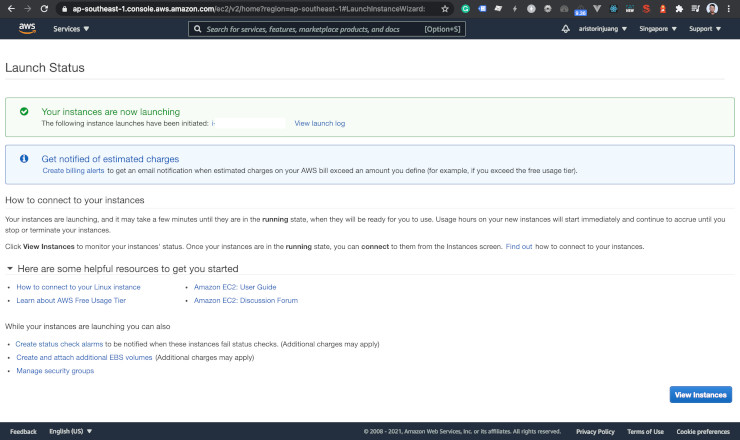
We just created an EC2 instance.
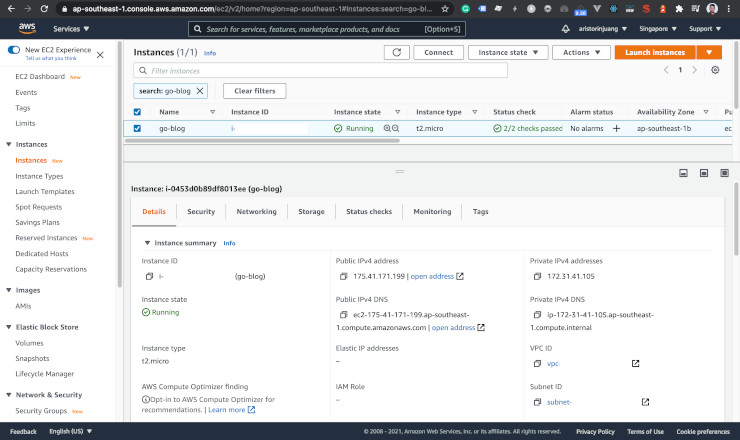
Make sure it is running.
Nginx
Nginx will forward our web app to the public. Let’s set up it.
- Set permission to our key. Eg:
chmod 400 go-blog.pem. - SSH to the server using the public IPv4 address. Eg:
ssh -i go-blog.pem ec2-user@175.41.171.199. - Install Nginx. Eg:
sudo amazon-linux-extras install nginx1 -y. - Nginx has been installed. Check it! Eg:
sudo systemctl status nginx. - Let’s start Nginx and make it auto-start when the server gets restarted. Eg:
sudo systemctl enable nginx && sudo systemctl start nginx. - Let’s check it again. Make sure it is running. Eg:
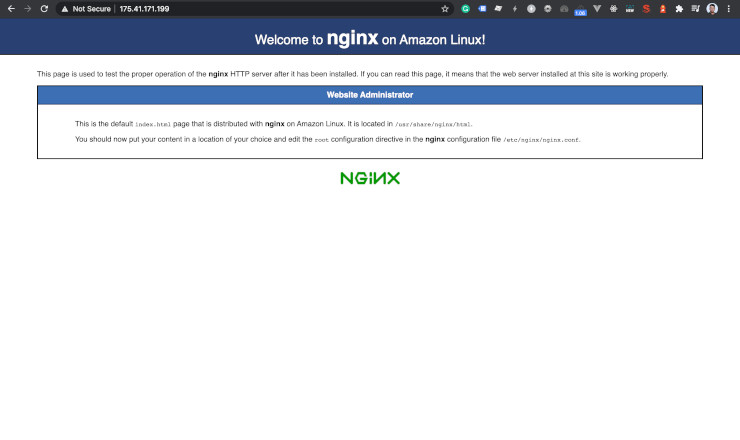
sudo systemctl status nginx. - Open the web browser. Go to the public IPv4. We will see the Nginx default page.
MySQL
Let’s set up the database. We’re going to use MySQL.
- Install MySQL 8 repository. Eg:
sudo yum install https://dev.mysql.com/get/mysql80-community-release-el7-3.noarch.rpm -y. - Install the dependency for MySQL.
sudo amazon-linux-extras install epel -y. - Install MySQL. Eg:
sudo yum install mysql-community-server -y. - Let’s start MySQL and make it auto-start when the server gets restarted. Eg:
sudo systemctl enable mysqld && sudo systemctl start mysqld. - Grab the temporary password. Eg:
sudo grep ‘temporary password’ /var/log/mysqld.log. - Set up the new password for MySQL. Eg:
sudo mysql_secure_installation. - Log in to the MySQL CLI. Eg:
mysql -u root -p. -
Create a database, user, and set the permission for the web app.
CREATE DATABASE go_blog;
CREATE USER ‘go_blog’@‘localhost’ IDENTIFIED BY ‘your_password’;
GRANT ALL PRIVILEGES ON go_blog.* to ‘go_blog’@‘localhost’;
FLUSH PRIVILEGES;
exit;
Git
We’re going to clone the project.
- Install Git. Eg:
sudo yum install git -y. - Clone the project. Eg:
git clone https://github.com/aristorinjuang/blog.git. - Import the tables to the database. Eg:
mysql -u go_blog -p go_blog < go_blog.sql.
GoLang
Install GoLang to the server and compile it.
- Download GoLang. My blog project was on Go 1.16.3. So I downloaded the same version. Eg:
wget https://golang.org/dl/go1.16.3.linux-amd64.tar.gz. - Extract the compressed file. Eg:
sudo tar -C /usr/local -xzf go1.16.3.linux-amd64.tar.gz. -
Add these paths to the
.bash_profileMake sureexport PATHis also at the end of lines.PATH=$PATH:$HOME/.local/bin:$HOME/bin PATH=$PATH:/usr/local/go/bin PATH=$PATH:/home/ec2-user/go
- Load the bash profile. Eg:
source .bash_profile. - Create the
.envfile from the example. Eg:cp .env.example .env. - Set the
DATABASEandPORTwith your configuration. - Install dependencies. Eg:
go install. -
Create a script for the system to run the web app with the filename
blog.serviceon the folder/etc/systemd/system.[Unit] Description=A simple blog that runs on Go. [Service] WorkingDirectory=/home/ec2-user/blog ExecStart=/home/ec2-user/go/bin/blog Restart=always [Install] WantedBy=multi-user.target
- Restart the daemon or
systemctl, enable and start the blog. Eg:sudo systemctl daemon-reload && sudo systemctl enable blog && sudo systemctl start blog. -
Create a reverse proxy for Nginx. You can set it on the
default.confof Nginx.server { listen 80; listen [::]:80; server_name _; location / { proxy_pass http://127.0.0.1:8000 } }
Congratulations
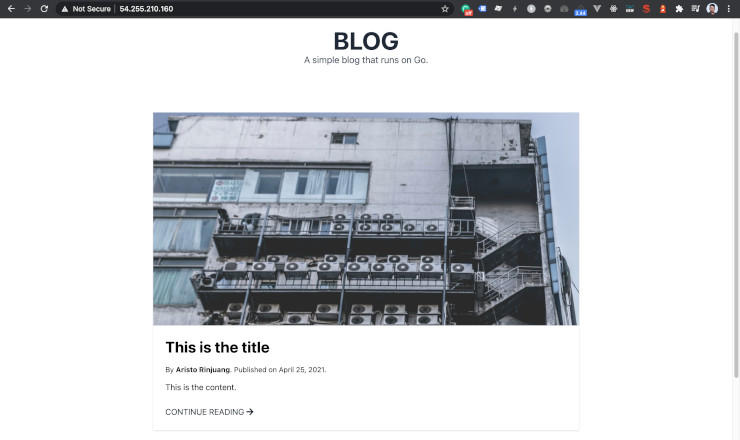
Refresh your web browser that is on the public IPv4. You will see the blog is running.
Congratulations. We learn many basics of deployments. The next step is to route the domain using AWS Route 53. Or put the database on AWS RDS. Or using containerization with Docker and AWS ECS. Using AWS S3 and AWS EFS for storage. Many more. Feel free to explore by yourself.
Related Articles
- A Simple Blog with Go
- Pemrograman Dasar Menggunakan GoLang
- Go Module
- Go Template
- Object-Oriented Programming in Go