Convert Any Images to JPEG and WebP, Compress, and Resize on the Client Side

When creating a website that lets users publish content or User-Generated Content, we need to sanitize user inputs, especially images. Below are the concerns:
- Users upload photos with incorrect formats like PNG, GIF, and SVG.
- Users upload photos with larger sizes than rendered sizes.
- Users upload photos with large file sizes that are heavy to load.
Let me explain why PNG, GIF, and SVG are incorrect formats like what I said above.
- PNG, Portable Network Graphics, is an image format with transparent background. It is supposed to be icons.
- GIF, Graphics Interchange Format, is an image format that supports animation. This format is popular for memes.
- SVG, Scalable Vector Graphics, is an image format for vector graphics. This format is always in high resolution. No matter how much you scale in. It is perfect for icons.
Some users have no idea about those formats. We should let them upload those photos and handle the rest.
Handling the rest on the server side is the worst. Let's imagine, your app has one million users, each user uploads a photo, and the server will transform the format, resize, and reduce the quality. That will be a pain for the server. Even you queue those photos or scale the server. The cost will be expensive or maybe can cause the server to die.
The best approach is to process all of them on the client side. Maybe you can't do this approach if you have an AI image compressor that needs to run on the server side.
Here are the steps of a process:
- Transform all images to JPEG or WebP.
- Resize (and crop) images.
- Reduce the quality by up to 80%.
The reason we need to transform all photos' formats of PNG, GIF, or SVG to JPEG is that it is the best format.
WebP is a modern image format developed by Google that provides superior lossless and lossy compression for images on the web.
WebP is cool. But I think it is optional because old browsers didn't support it. For more information, you can visit https://developers.google.com/speed/webp/faq.
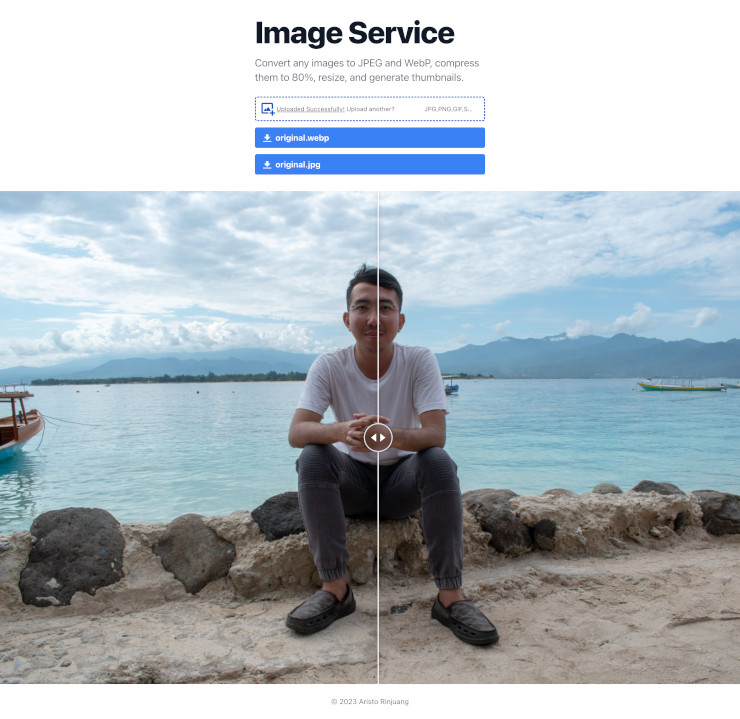
I created a web app with TypeScript and React to demonstrate it and the result is amazing. You can try it at https://image.aristorinjuang.com. I uploaded the original image of the photo that I used on the homepage. The image is already in JPEG but the file size is about 8 MB. The JPEG version of the result is about 243 KB which is pretty amazing because the quality is reduced to 80%. The WebP version of the result is about 2 MB which is also amazing because it keeps the quality to 100%.
After the images are ready, we only need to send them to the server side on the POST method with multipart/form-data for input elements. For more information, you can visit https://developer.mozilla.org/en-US/docs/Web/HTTP/Methods/POST. Then, the server will save the meta information to the database, store images in the storage, and publish them.
Along with TailwindCSS, TypeScript, and React, I used React Hook. So, I used React Context instead of Redux. Also thanks to these libraries:
- React Drag and Drop Files to make it able to drag and drop images.
- React Image File Resizer to transform images to JPEG and WebP, resize, and reduce the quality.
- React Compare Slider to compare the result of JPEG and WebP versions.
In some cases, we create copies with different image sizes which we call thumbnails. The best approach is to do this process on the client side too. Here is the main code to generate images.
|
|
The thumbnail categories are still limited to only one, which is original. We can add more. There are many ways to do that, hard coded or user inputs. Maybe we also need to add an image cropping library to crop images to the proportional ratio.
I created the demonstration for the web along with its unit tests in a limited time, one day (or two days along with this article). I hope this article helps you to build a high-performance system, especially when handling user images. Mostly, I didn't talk about the source code, but you are free to see the source code at https://github.com/aristorinjuang/image-service or even contribute to it.
Related Articles
- React with TypeScript
- Next.js vs Hugo
- Server-Side Rendering with Next.js and TypeScript
- Atomic Design with React
- Test-Driven Development